
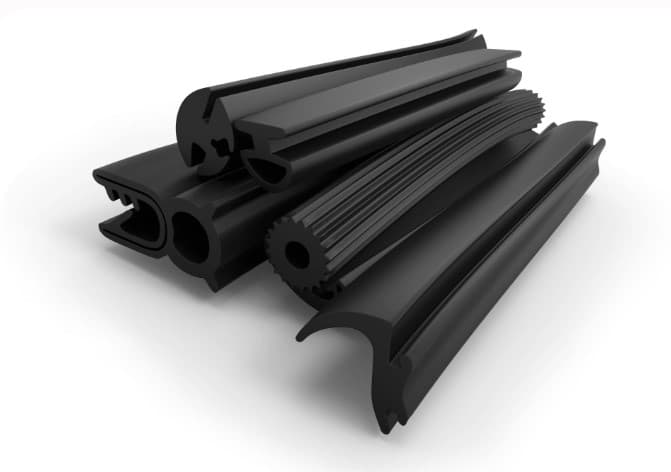
This guide is for maintenance managers, plant supervisors and buyers who look after doors, covers, pipe joints and machine housings. A seal or gasket does not announce that it has failed. Here are the signs to look for, so that you can write down what you find and order the right replacement.
Signs you can see
Look at the seal in good light, and look along its whole length. A small problem in one spot can matter more than the general look of the rest. Press the rubber with a finger in a few places and compare the spots with each other.
- Cracks or splits, especially at corners and at joins
- Hardening: the rubber feels stiff and does not spring back when you press it
- Flat or squashed sections where the seal no longer stands proud of its groove or face
- Gaps between the seal and the surface, or between two pieces
- Pieces missing, or a seal that has shrunk away from a corner
- Surface wear, such as a rough, shiny or sticky surface
If the seal is swollen, soft or changed in colour, note that too. We do not say what caused it from a description alone. Record what you see and send it to us.
If the seal has been repaired with tape or glue, say so when you write to us.
Signs you can feel or hear
Some signs show up in use and not on the seal itself. Our catalogue lists rubber seals for leakage, vibration, dust and moisture entry. So these four problems are worth writing down.
- Leakage: drips, wet patches or stains near the seal
- Dust: a trail of dust inside a cabinet or housing that should be closed
- Moisture: damp or condensation inside, or water marks under a door or cover
- Vibration or rattle where a cover or panel meets the frame
Note where on the seal the sign appears, and when it happens: always, only when the machine runs, or only after cleaning. A leak at one corner tells us more than a leak "somewhere on the door".
Signs on a gasket
A gasket sits between two faces, so many signs only show when you open the joint. Our catalogue describes gaskets as custom gasket materials for flange sealing, machinery, piping and industrial maintenance.
When you open a joint, look at the old gasket before you throw it away. Note a gasket that is torn or in pieces. Note one that is hard or brittle, or thin in places. Also note any marks on the faces.
Write down any weeping or stain at the edge of a flange joint. Write down a leak that comes back after the bolts are tightened. Before you open any joint, follow your site procedure and the equipment maker's instructions.
For the difference between the two parts, read rubber seals or gaskets.
What we cannot tell you
We cannot tell you from a description how long a seal or gasket should last. We also cannot name the cause of a failure, and we do not give a service interval. These depend on your site and your equipment.
Tell us what the old part was and how it failed, and how long you think it has been in place if you know. We will confirm what to quote, and we may ask you questions about the job.
Record it before you remove it
Take a photo of the seal in place and a close photo of the worst spot, and keep the old part. Our guide on how to match a worn rubber seal explains how to measure and photograph it.
What to send us for a quote
- Whether it is a seal or a gasket, and where it sits
- Photos of the old part and of the worst spot, or the old part itself, with its length, width and thickness in units
- What you see: cracks, hardening, flat spots, leaks, dust or moisture, and what the part touches
- The number of pieces you need
If you need a certificate or other papers for the material, ask us for the product documents. You can also browse the industrial materials page to see the range we list. Request a quote on our website or message us on WhatsApp, and we will confirm the right material and size.